
User manual
The whole route through PanelPlan, from the first sign-in to the quote you send the client. The chapters are in the order a workshop meets these things, not the order the menus are in.
Print this or save it as a PDF with Ctrl+P (⌘P on a Mac). The printed version leaves out the navigation and the table of contents.
1Signing in and the workshop
There is no password. You type your email on the sign-in page, a message arrives with a link, and clicking that link signs you in. The link is short-lived and is used up the first time — if it expires, ask for another.
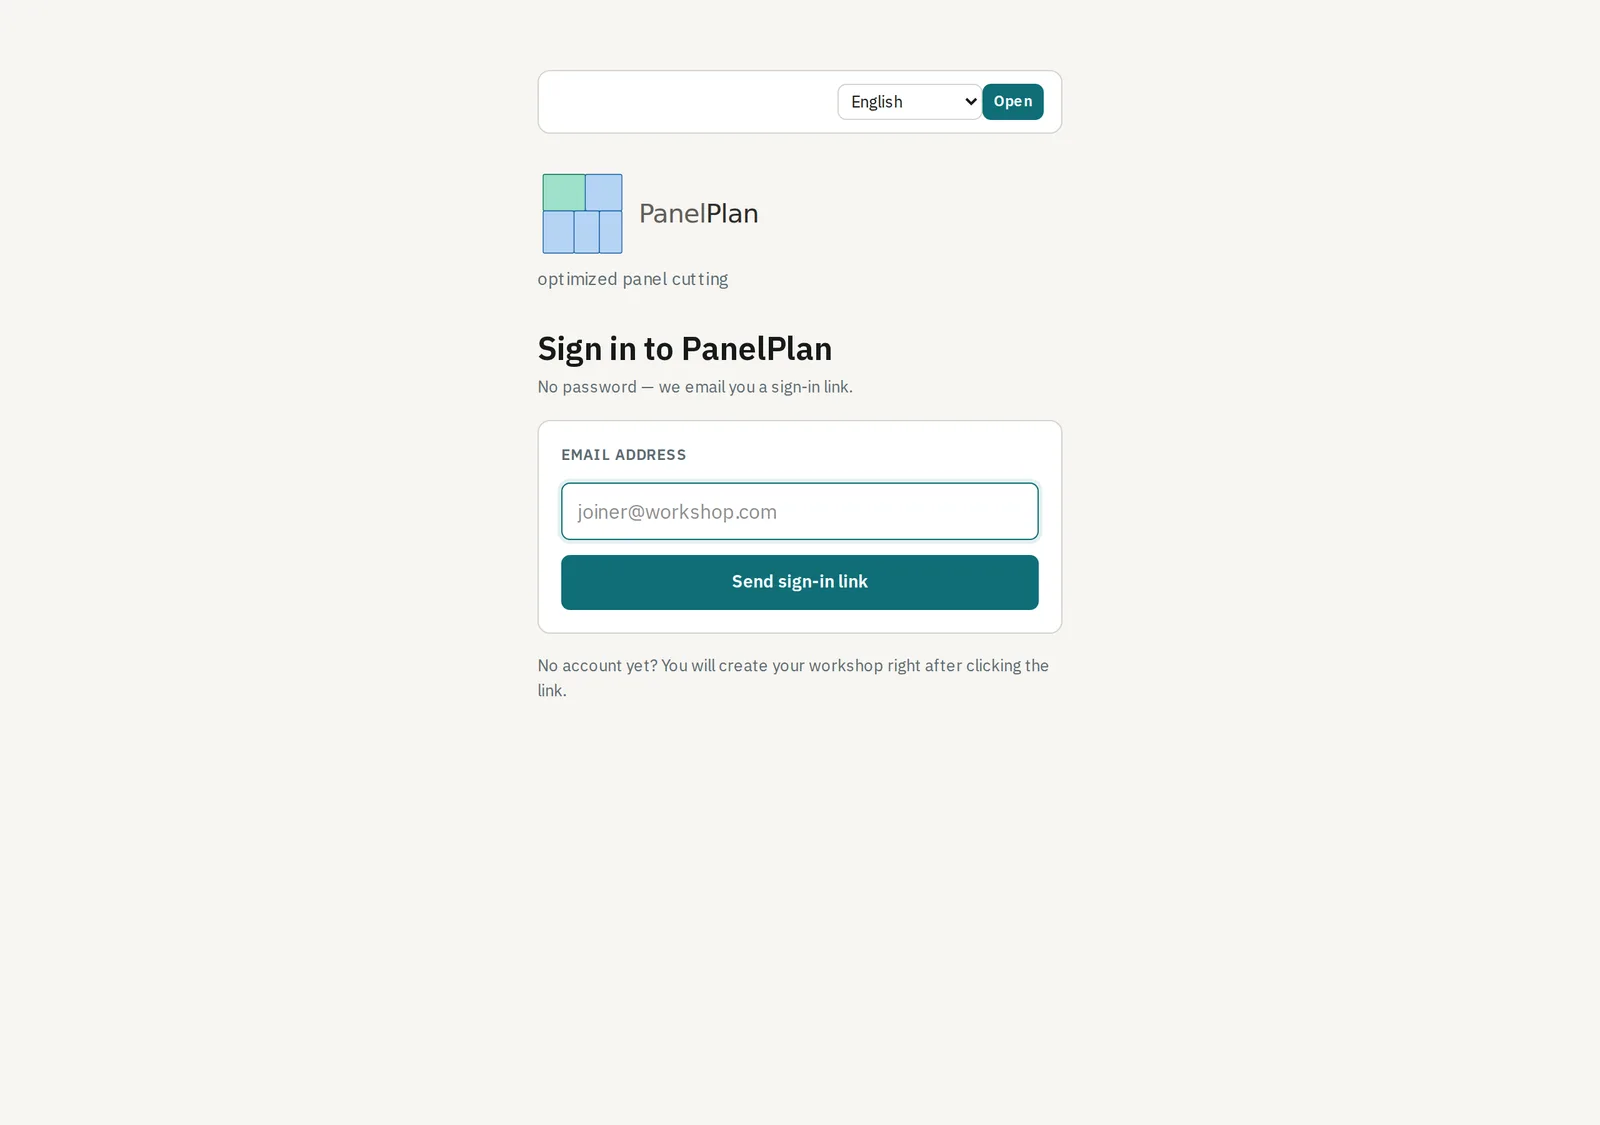
The first sign-in creates your workshop: a name, a currency and the details that go on a quote. Everything you enter afterwards belongs to the workshop rather than to you personally — a colleague you invite sees the same projects and the same stock.
Step by step
- Open the sign-in page and type your email address.
- Open the message that arrives and click the link in it. It works once and expires shortly.
- First time only: name the workshop, pick the currency, and fill in the details that belong on a quote.
2Materials and stock
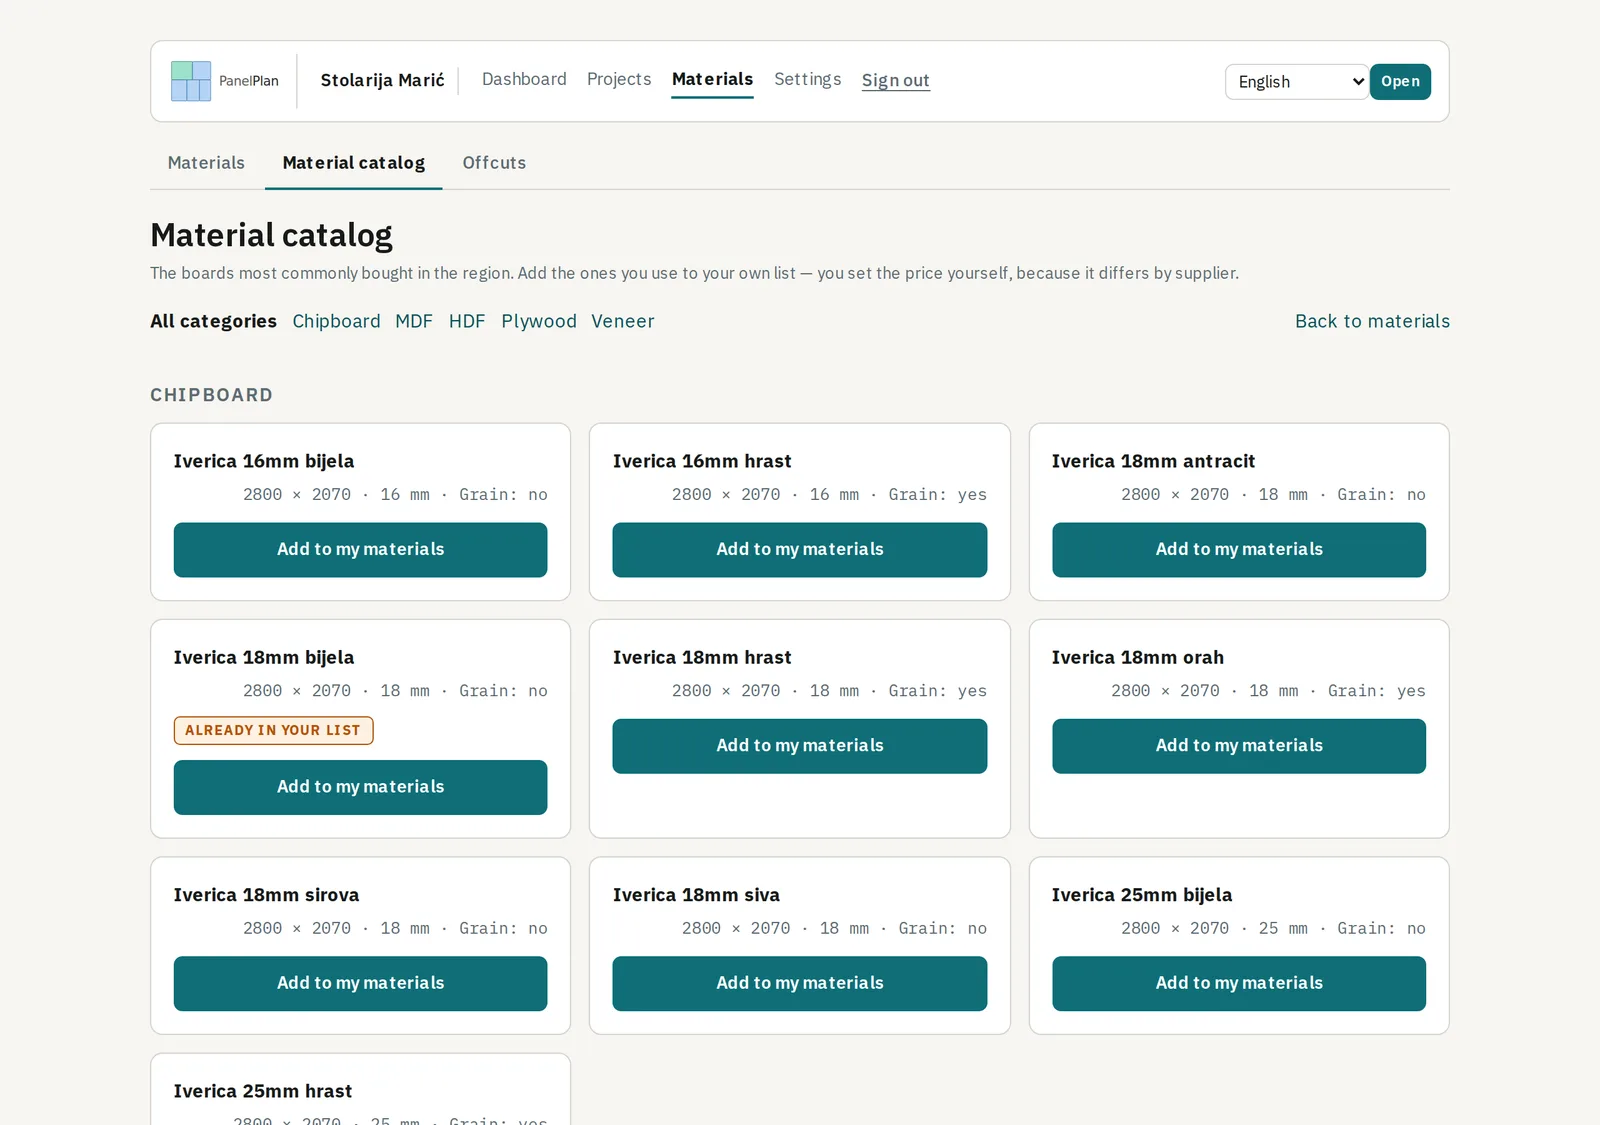
A material is a board the workshop actually keeps: name, sheet size, thickness, price, and whether it has a grain that must be respected. The catalogue has ready-made entries for standard boards, so common ones do not have to be typed in.
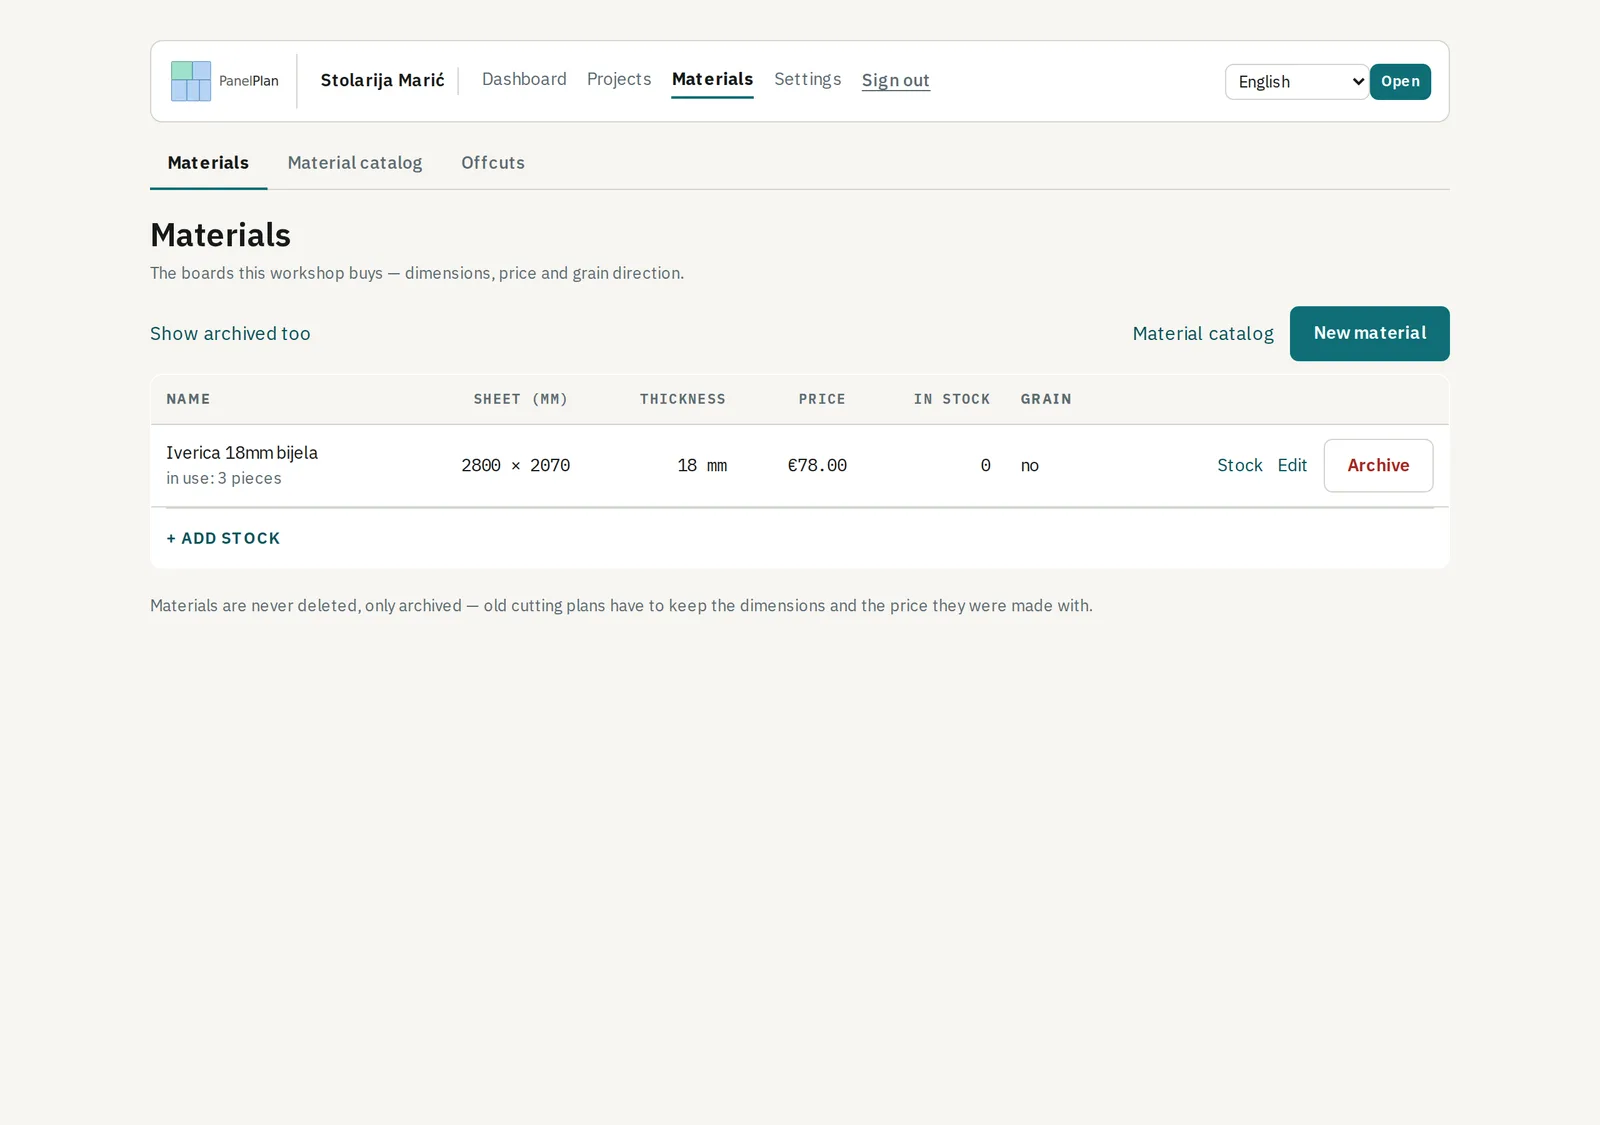
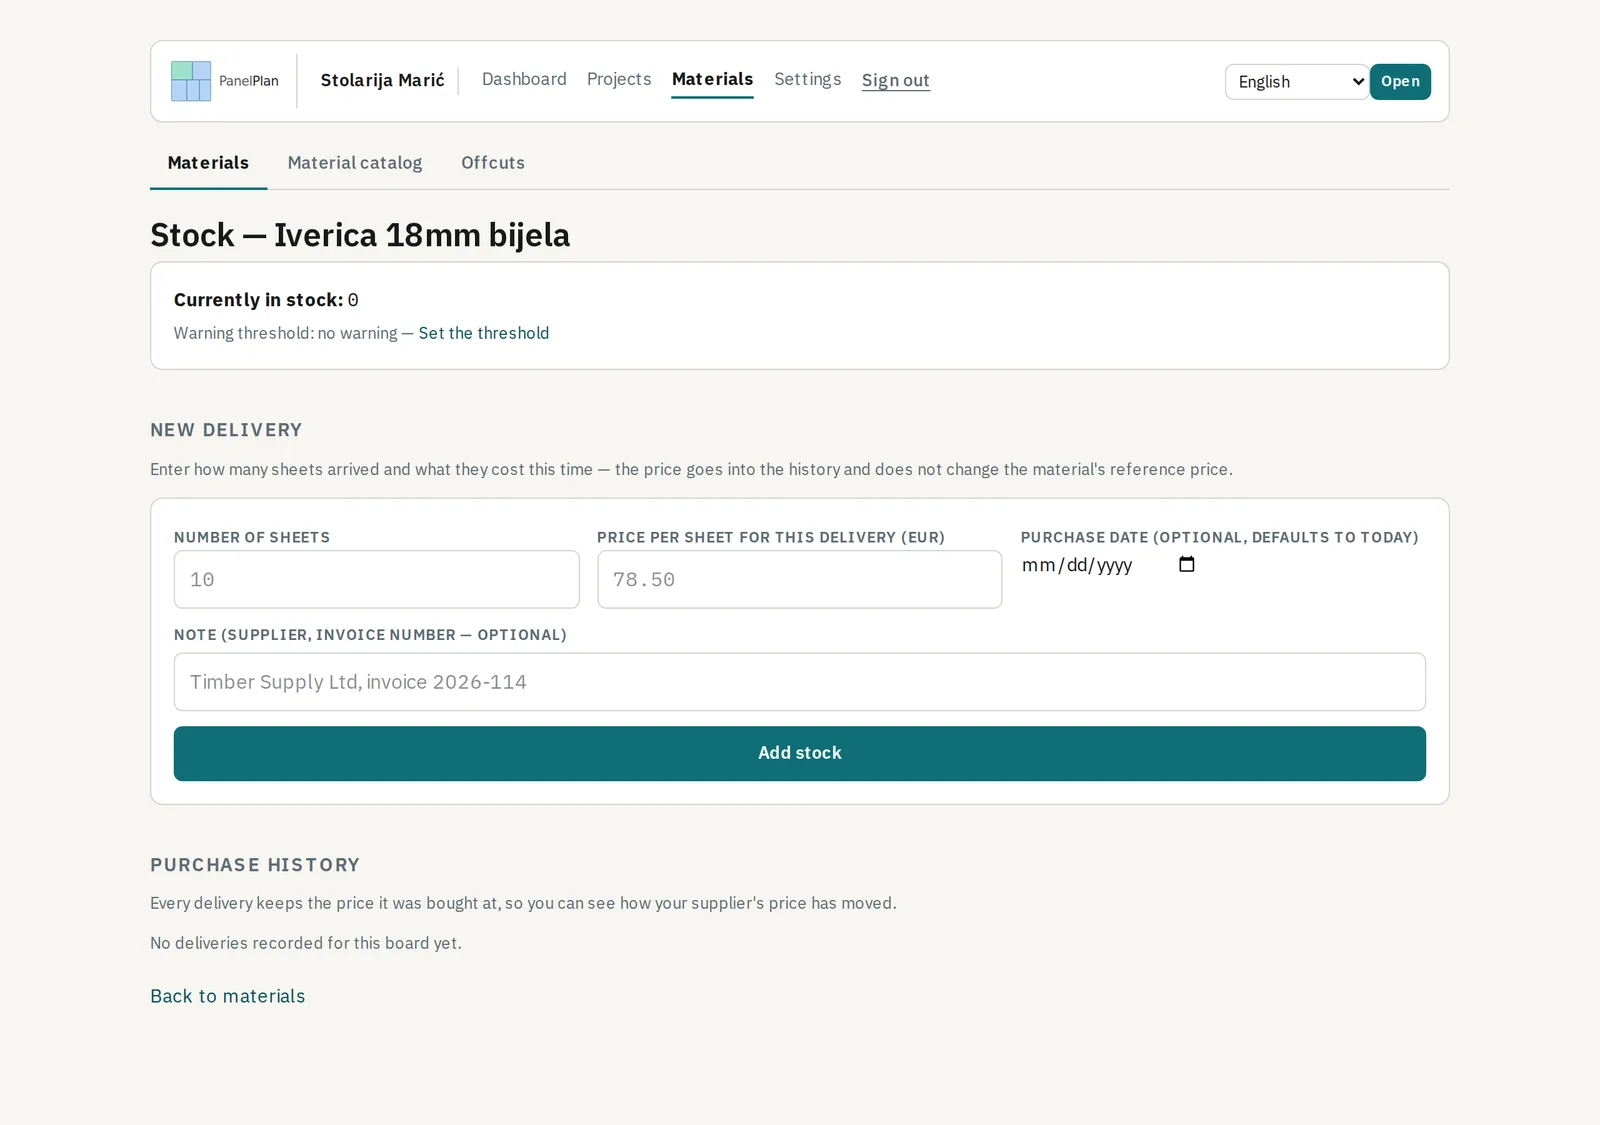
Stock is counted in sheets. A delivery is recorded with the quantity and the price you paid, so the restock history shows how your supplier's price moves. Stock goes down at the moment you download the full file for a plan — drafts and on-screen previews never touch it.
Step by step
- Go to Materials → New material, or take a standard board from the catalogue.
- Enter the sheet size, the thickness and the price per sheet, and tick the grain if the board has one.
- Open Stock on that material and record what you actually have on the rack.
3Projects
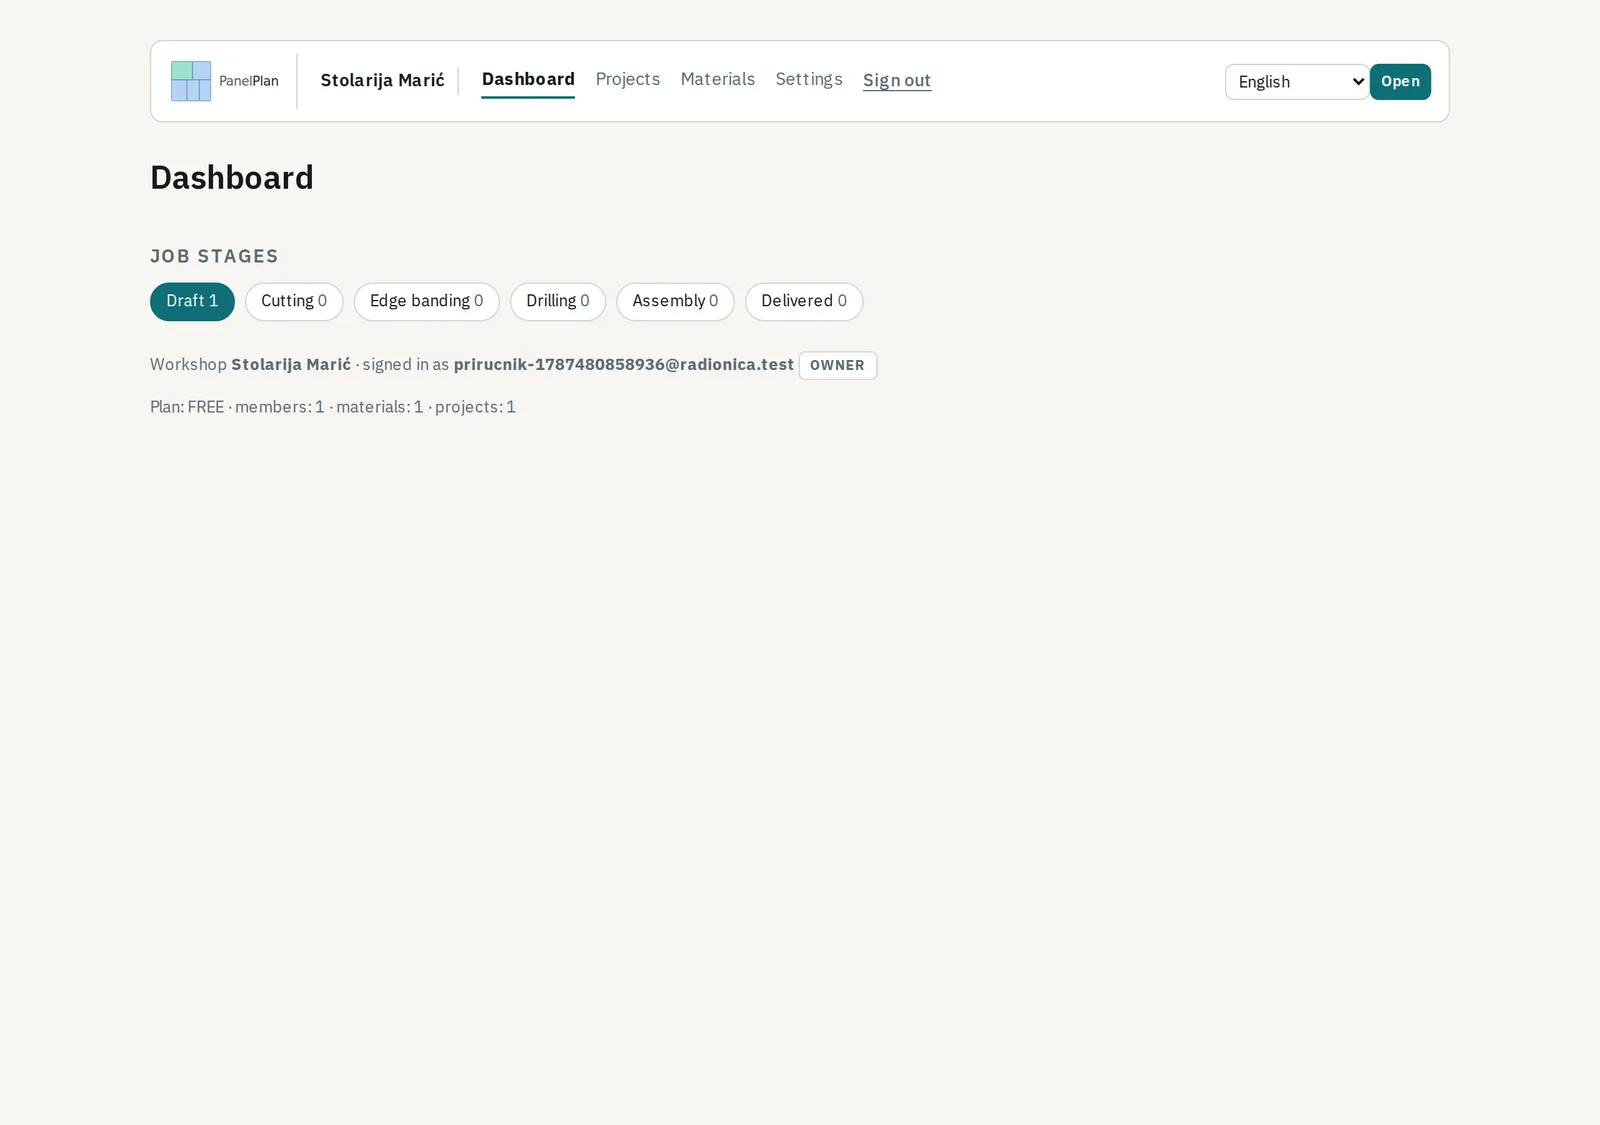
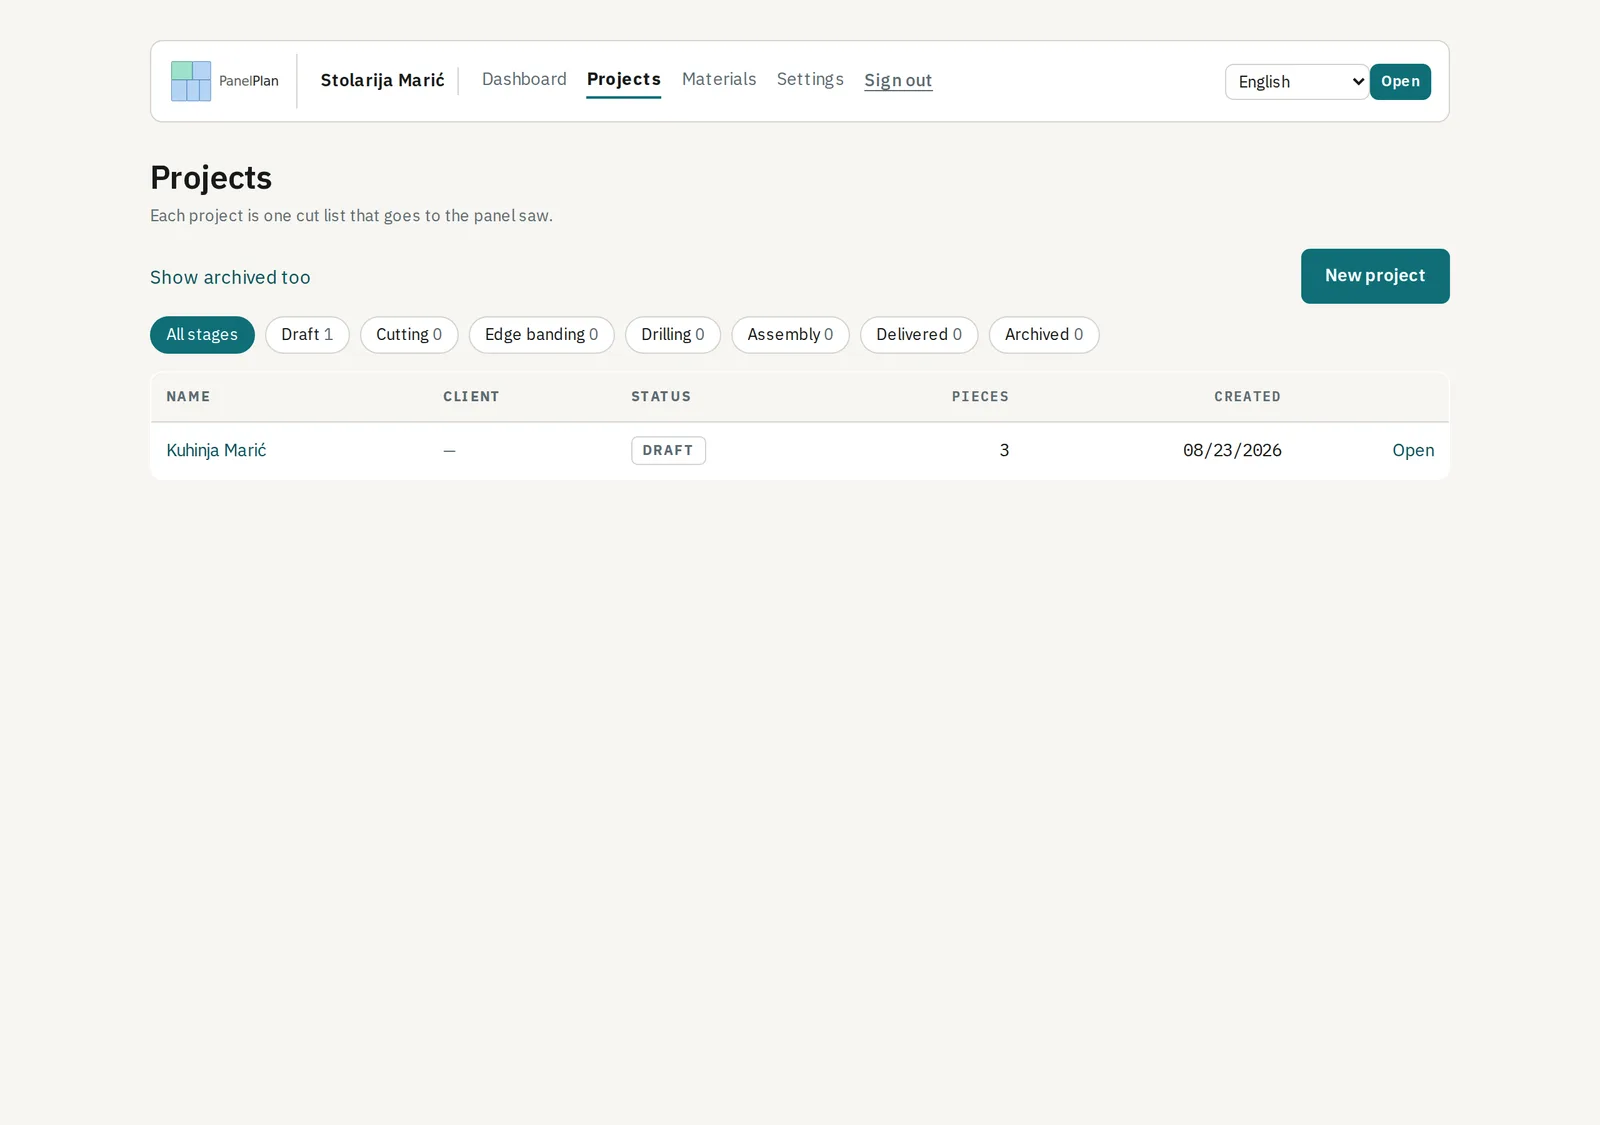
A project is one job for one client. It carries a status that follows the real path through the workshop — draft, cutting, edge banding, drilling, assembly, delivered — and you move it when the job actually moves.
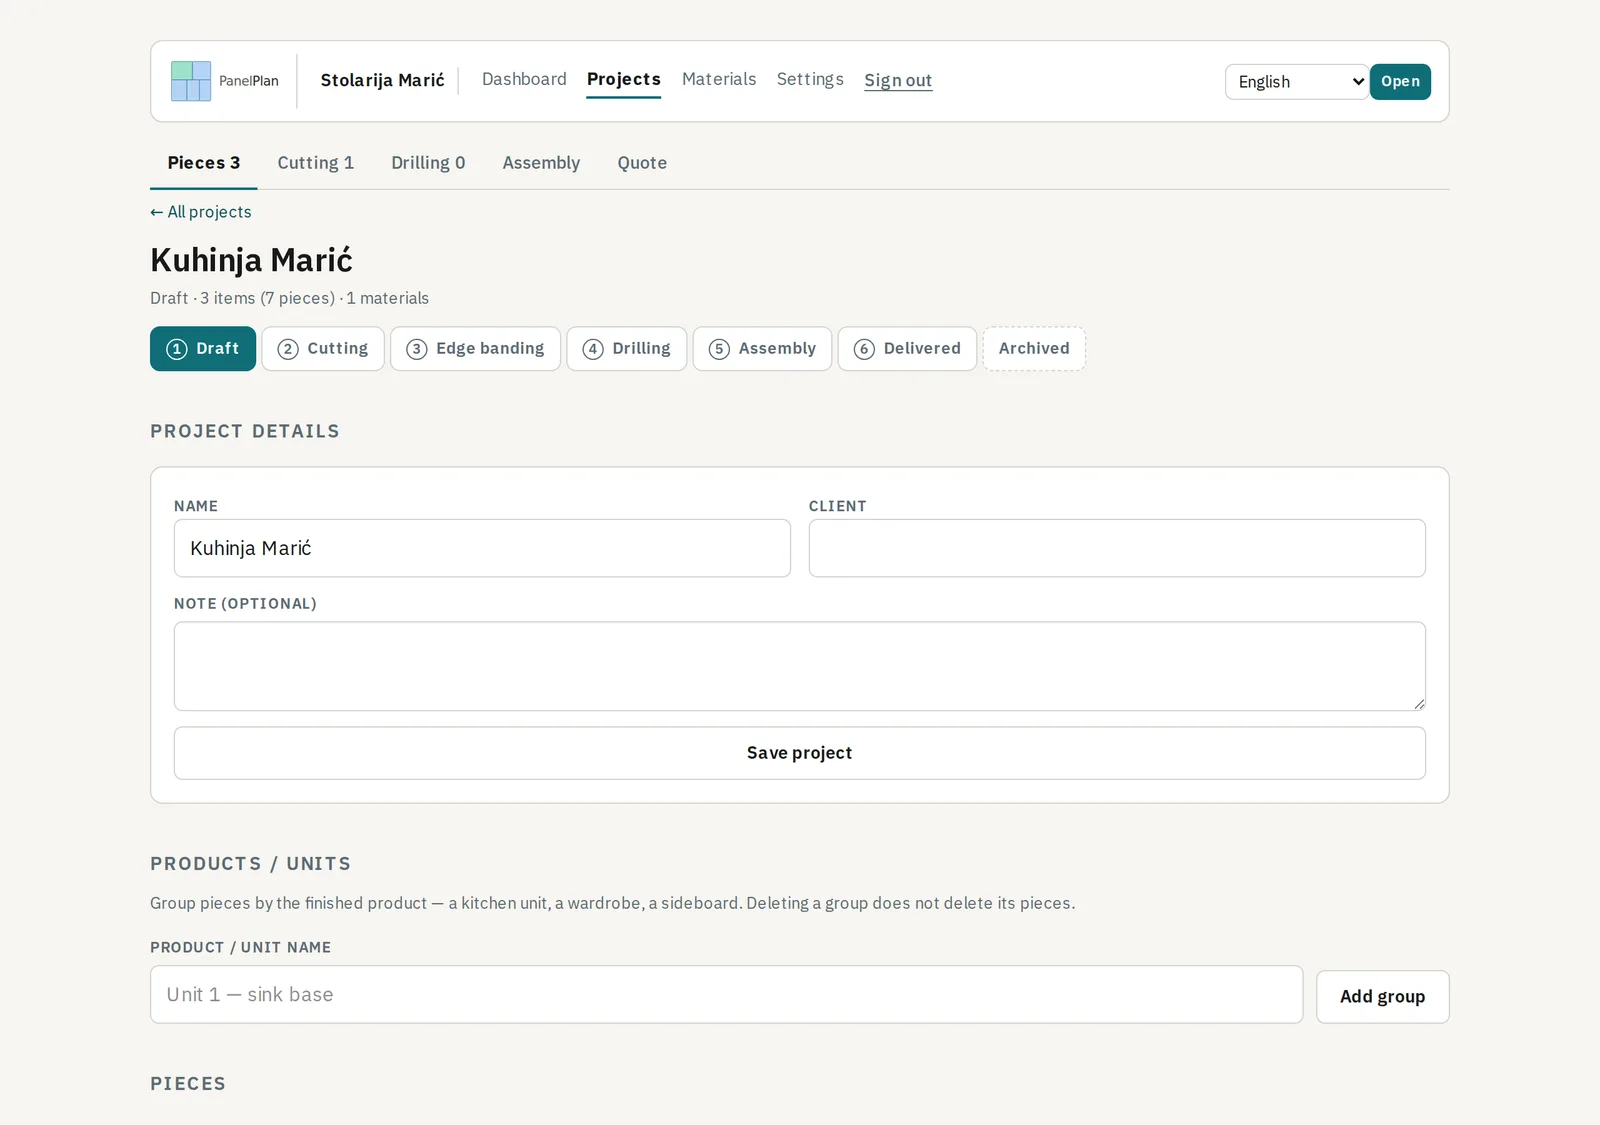
Inside a project there are five tabs: Pieces, Cutting, Drilling, Assembly and Quote. That is also the order of work: no plan without pieces, and nothing to drill until there is a plan.
Step by step
- Go to Projects → New project and name it after the job or the client.
- Work the tabs left to right: Pieces, Cutting, Drilling, Assembly, Quote.
- Move the status as the job moves through the shop — the dashboard counts by it.

4Entering the pieces
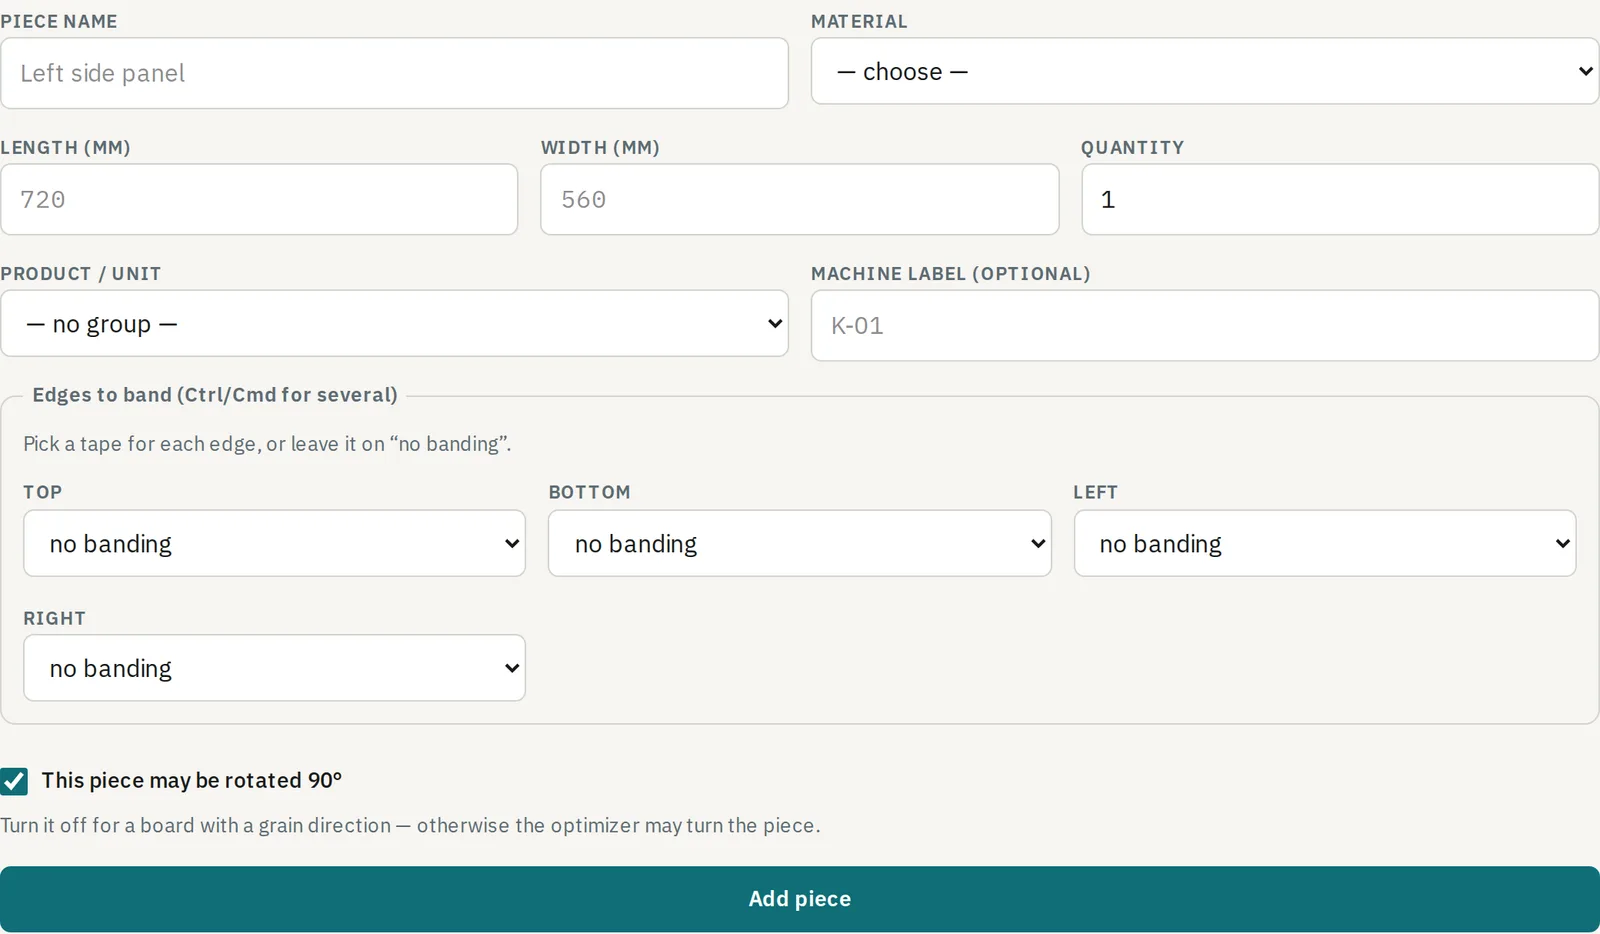
Every piece has a name, a material, a length, a width and a quantity. If the board has a grain, mark the direction — the optimizer honours it and will not turn a piece sideways to save a couple of centimetres.
Edge banding is chosen per edge, because in practice all four are rarely banded. Pieces can be grouped by unit (carcass, doors, shelves), and assembly later works through those groups instead of one long list.
Step by step
- Open the Pieces tab and add each piece: name, material, length, width, quantity.
- Mark which edges are banded, and the grain direction on a board that has one.
- Give pieces from the same unit the same group name, so assembly can work unit by unit.
5Importing a cut list
If you already have the list, do not retype it. The import reads Excel, CSV, XML and JSON. Columns are matched to fields in a wizard — a guess is offered and you either confirm it or correct it.
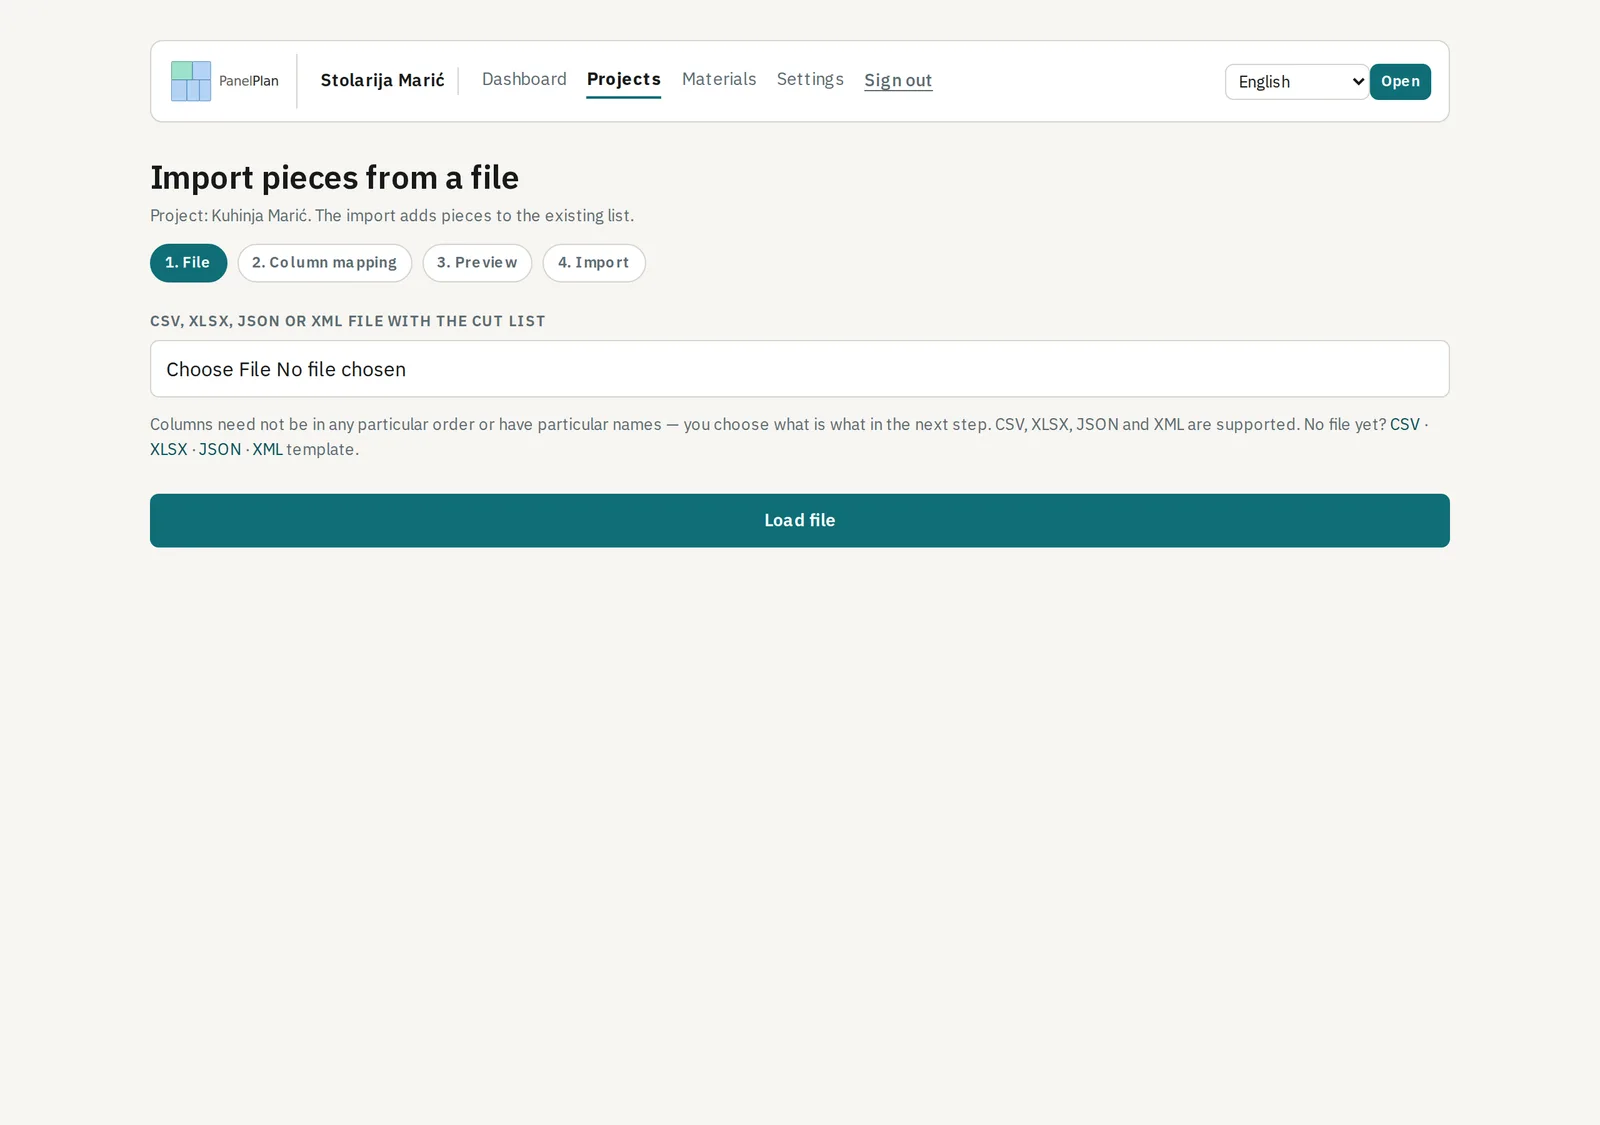
Before anything enters the project you see a preview with the errors marked row by row: an unknown material, a quantity of zero, a piece larger than the board. Materials are matched by name, so the same file works in another workshop too.
Step by step
- Open the Import tab and upload the file, or paste the rows straight in.
- Check the column matching — a guess is offered, correct it where it is wrong.
- Read the preview, fix the rows marked in red, then confirm to write them into the project.
6Reading a DXF drawing
A DXF drawing can be loaded into a project to show what is on it: dimensions, layers and the material labels the file carries as text.
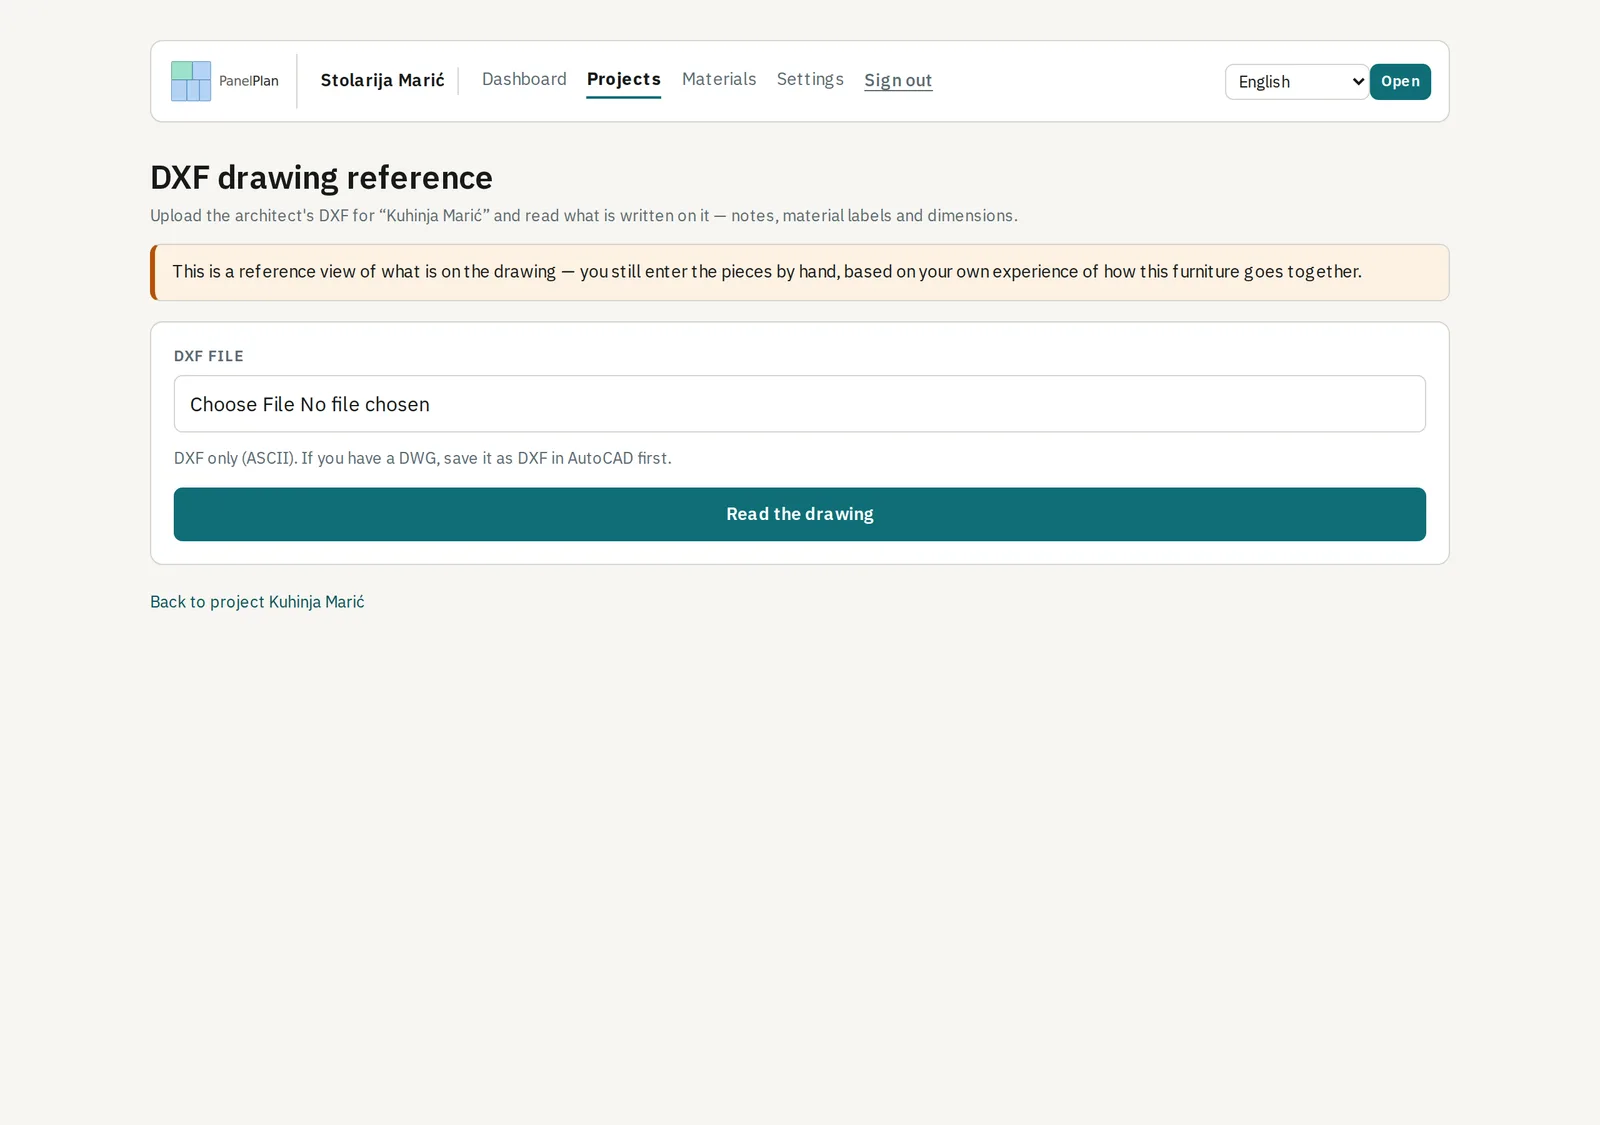
This is a reference view, not an automatic import. You still enter the pieces yourself, based on your own experience of how that furniture goes together — a drawing does not know a carcass from a back panel.
Step by step
- Open the DXF tab and load the drawing.
- Read off the dimensions, the layers and any material labels the file carries.
- Enter the pieces yourself in the Pieces tab — the drawing is a reference, not an import.
7The cutting plan
A plan is made in one click from the list of pieces. The cuts are guillotine cuts — right across the board, the way a panel saw actually works. Blade thickness (kerf) and grain direction are respected, and the result is a numbered cutting sequence with a yield percentage.
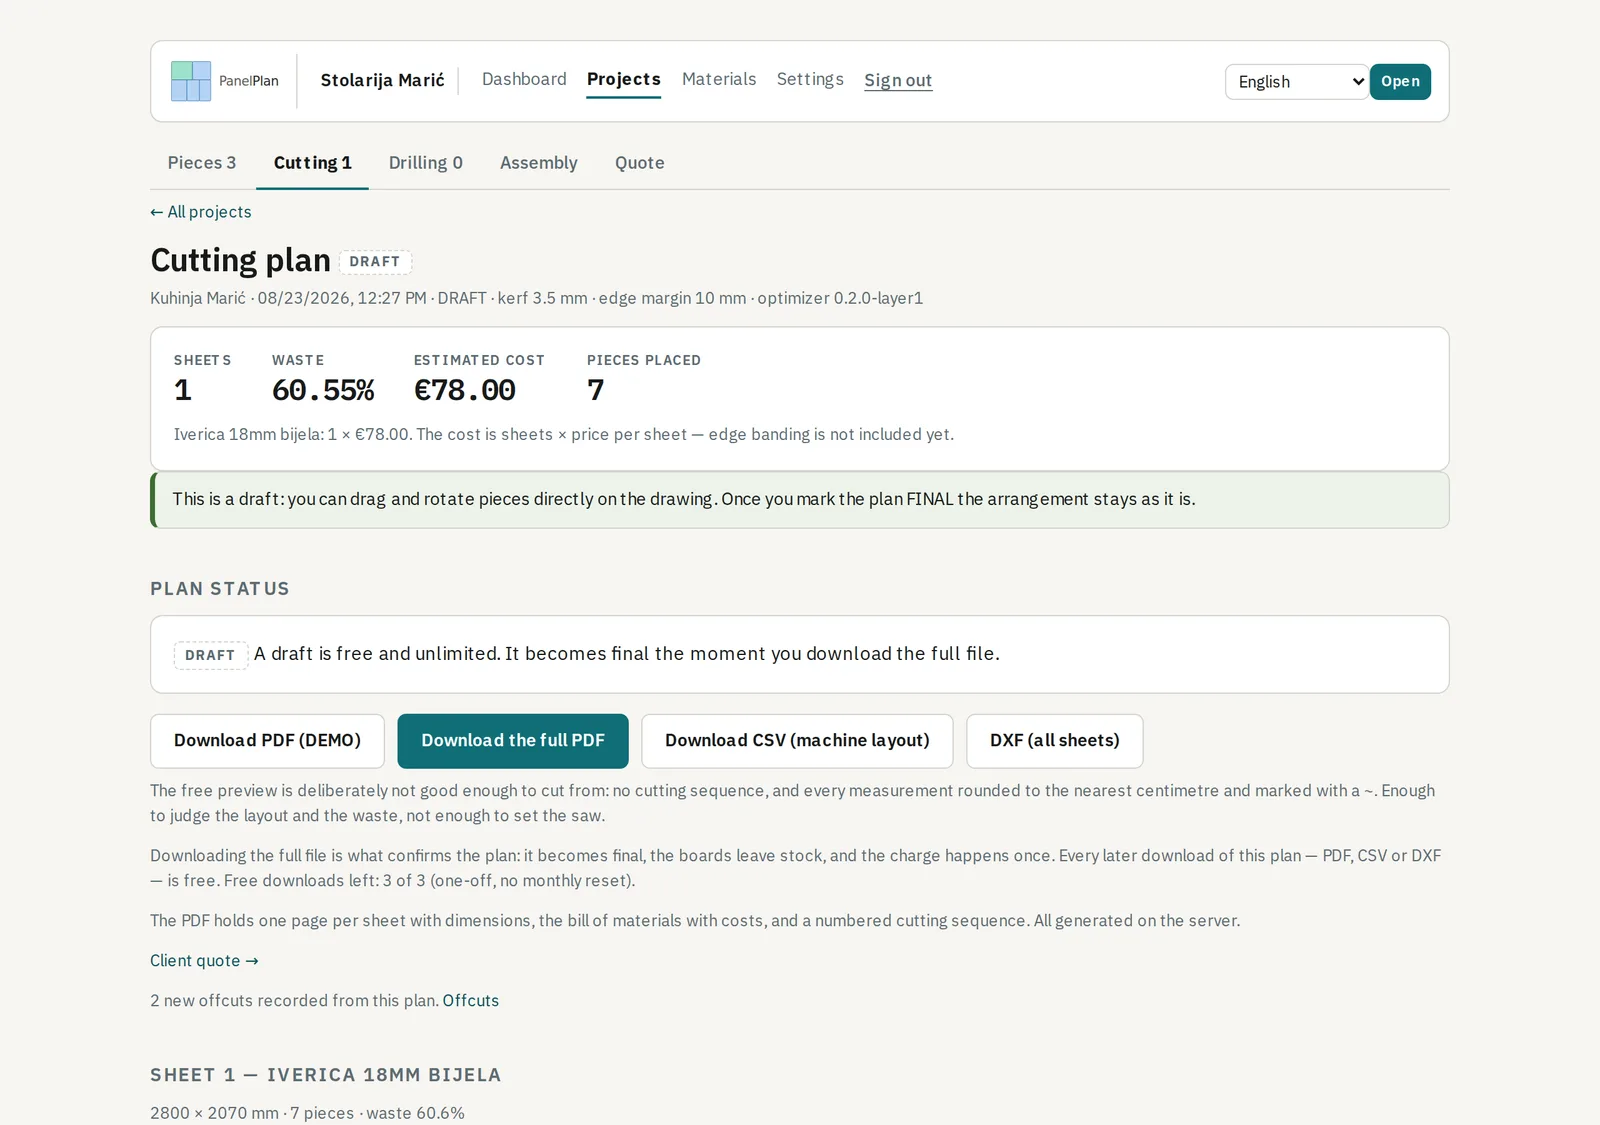
A draft can also be rearranged by hand: move a piece to another board when you know something the optimizer does not. Making plans and looking at them on screen is free and unlimited. Downloading the full file is the part that costs: at that moment the plan becomes final, the sheets leave stock, and a free download or a credit is spent. Every later download of the same plan is free.
Step by step
- Open the Cutting tab and press Generate plan.
- Check the layout and the yield. Drag a piece onto another board if you know something the optimizer does not.
- Download the full PDF, CSV or DXF when the layout is right — that is the moment the plan becomes final, the sheets leave stock, and the download is charged for.

8Offcuts
When a plan goes to the saw, the usable offcuts are recorded on the rack automatically. Narrow strips are not: below 300 mm a leftover costs more in rack space and handling than it saves.
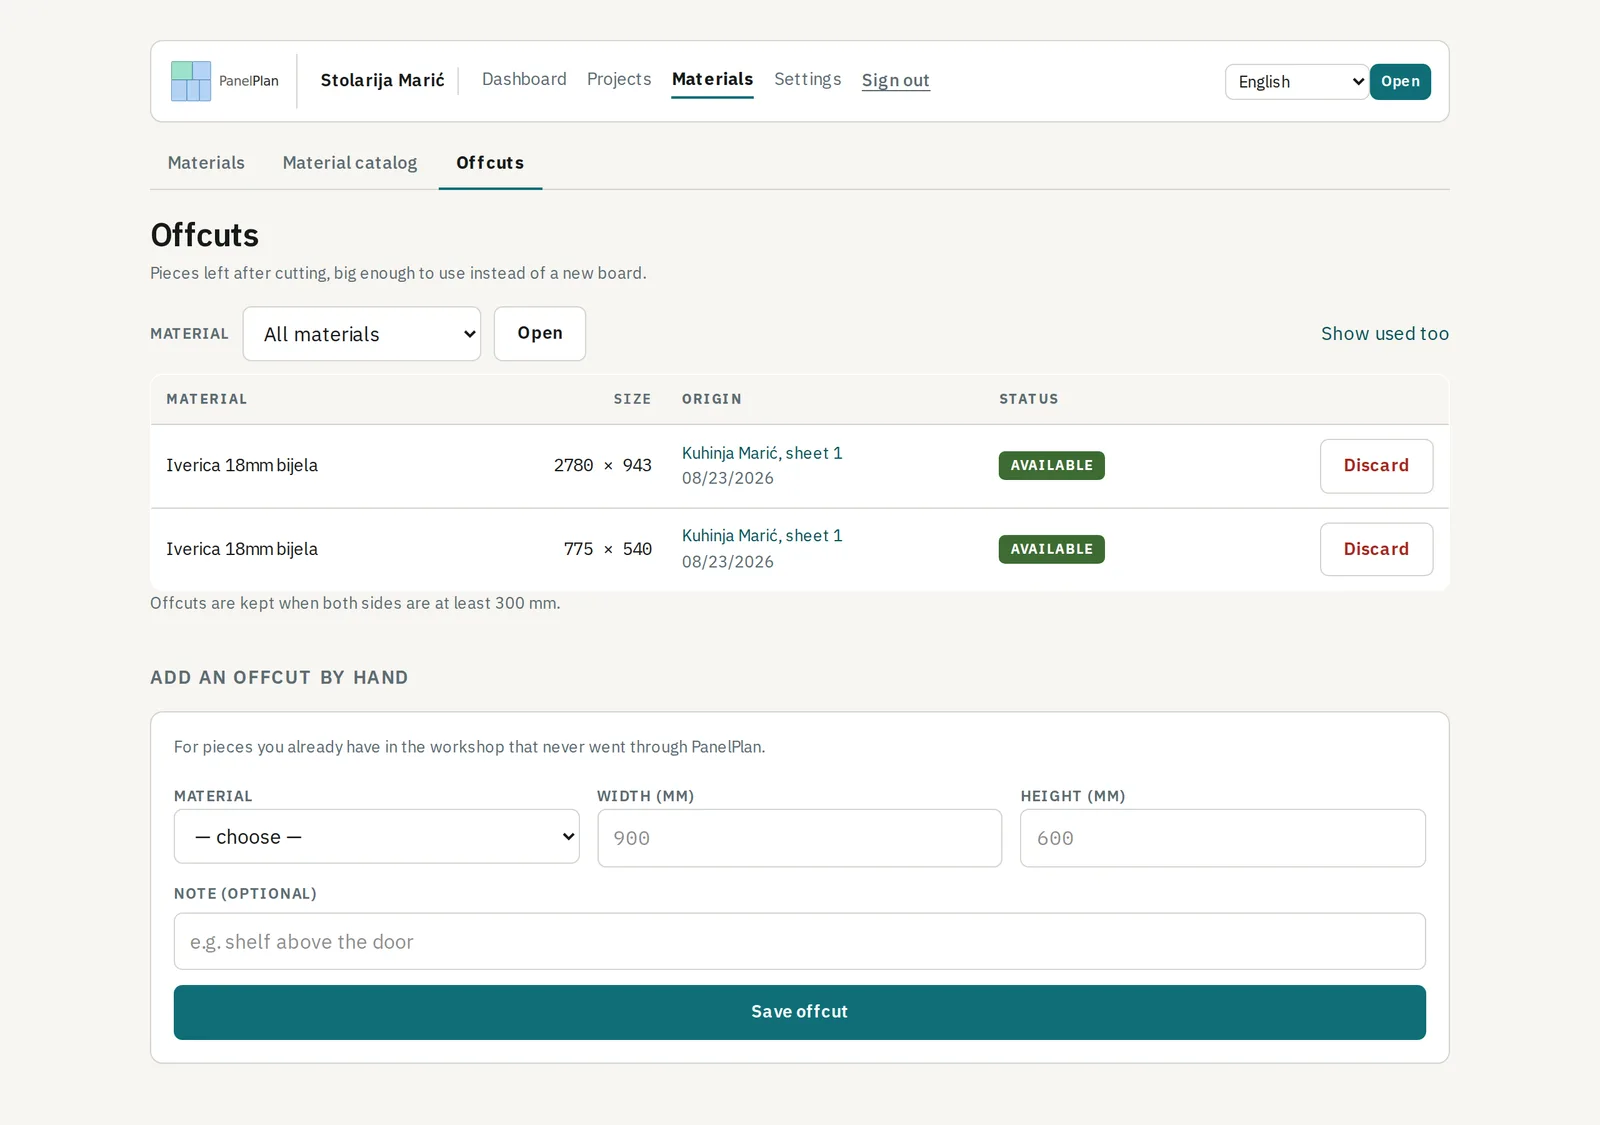
The next plan reaches for the rack before it opens a new board. An offcut can also be entered by hand, or written off when it is used up outside the system.
Step by step
- Nothing to do while cutting: usable offcuts reach the rack by themselves once a plan is downloaded.
- Look at Materials → Offcuts before ordering a new board; the next plan reaches for the rack first.
- Write an offcut off when it is used up outside the system, or add one by hand that arrived some other way.
9Drilling
Drilling points are placed by clicking on the drawing of the piece. The templates cover system 32, hinges and confirmats, and their parameters are set to the hardware you actually use.
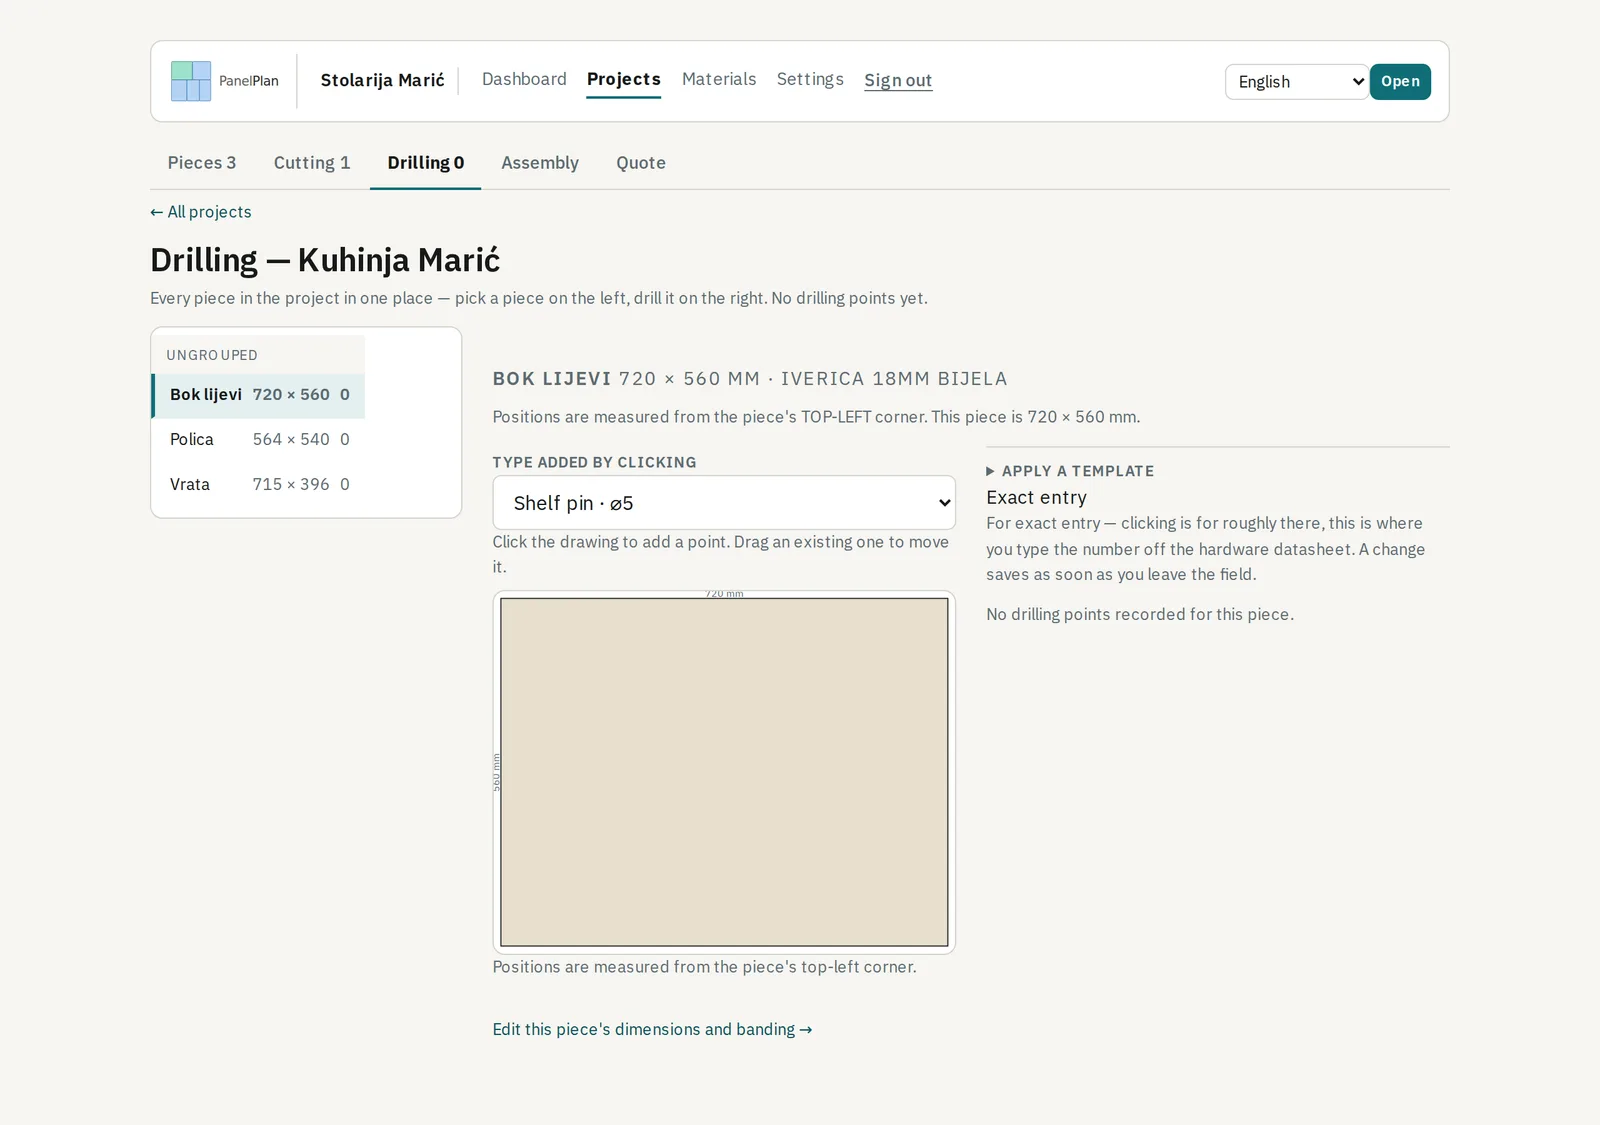
The drilling tab lists every piece with its coordinates and diameters, in a form that can be printed and carried to the drill.
Step by step
- Open the Drilling tab and pick the piece to drill.
- Place the points by clicking, or apply a template — system 32, hinges, confirmats — set to your own hardware.
- Print the tab, or use the drilling pages in the plan PDF, and carry it to the drill.
10Assembly
Assembly is a checklist per unit, with steps ticked off as they are done. The ticks are remembered, so a job stopped on Friday carries on from the same place on Monday.
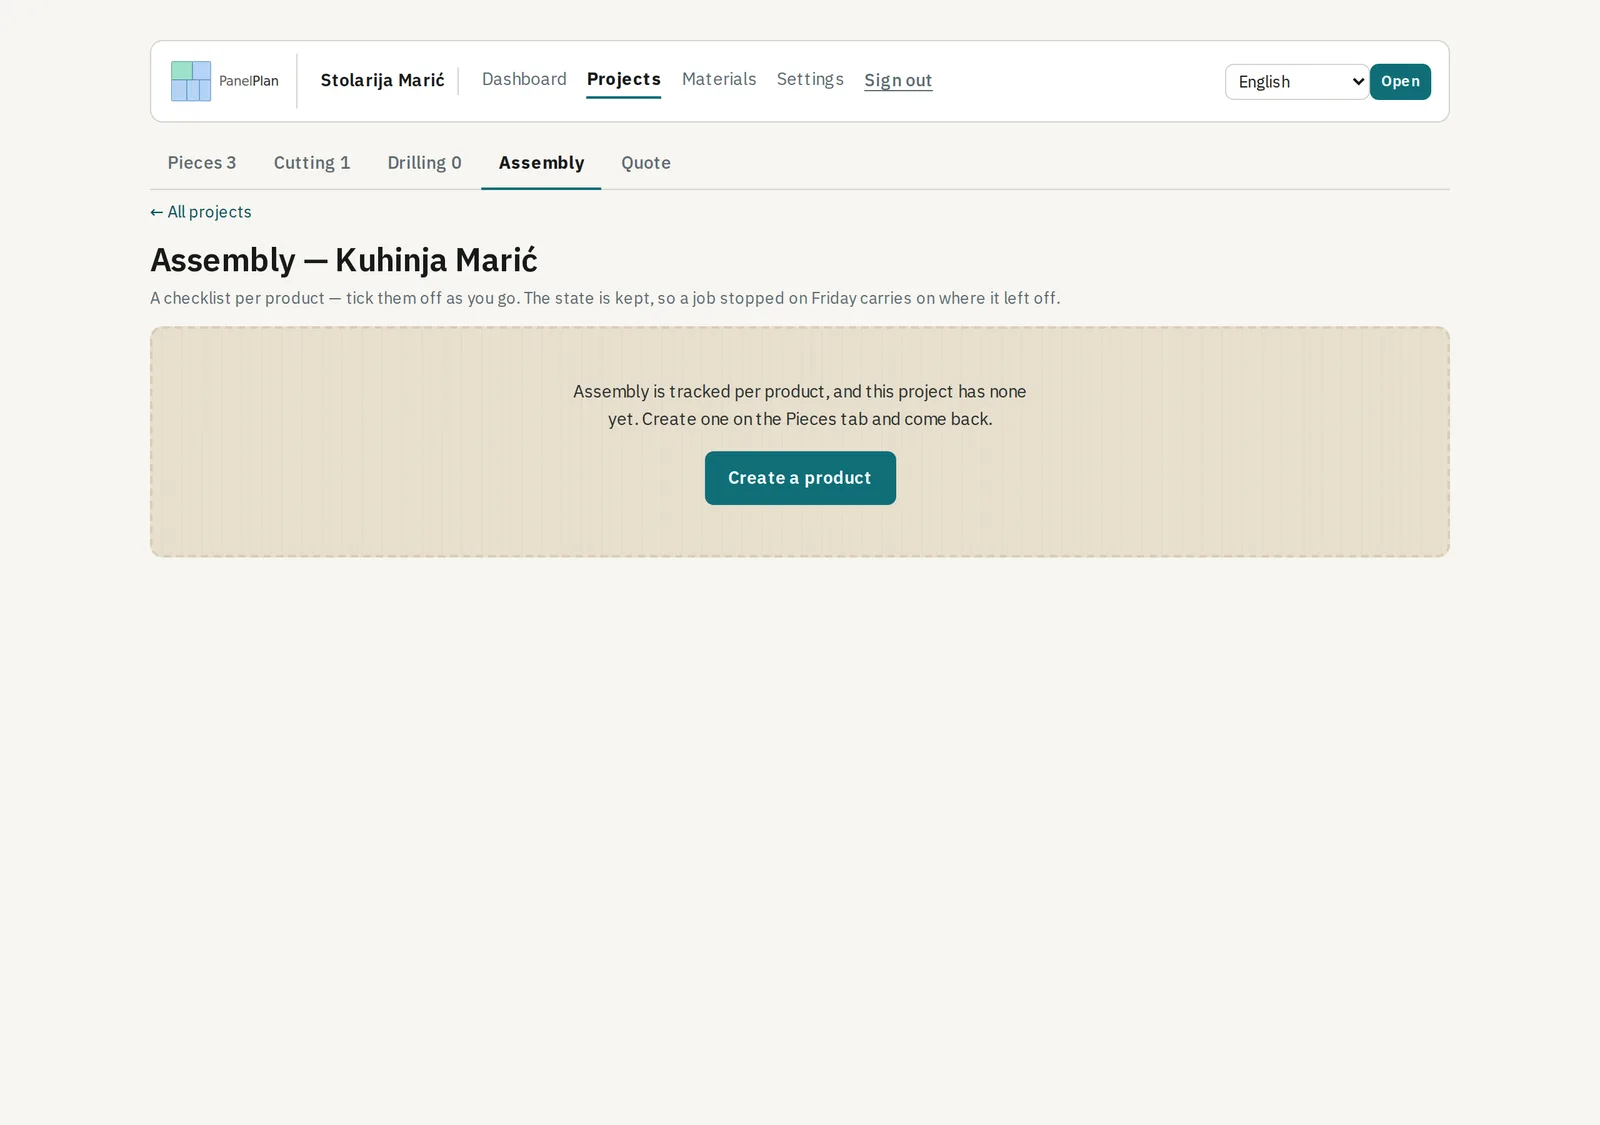
If the pieces were grouped by unit, the steps arrange themselves into those groups — one carcass at a time, rather than alphabetically by piece name.
Step by step
- Open the Assembly tab; the steps are grouped by unit if the pieces were.
- Tick each step as it is finished — the ticks are saved as you go.
- Pick up where you left off: a job stopped on Friday opens on Monday at the same step.
11The quote and the exports
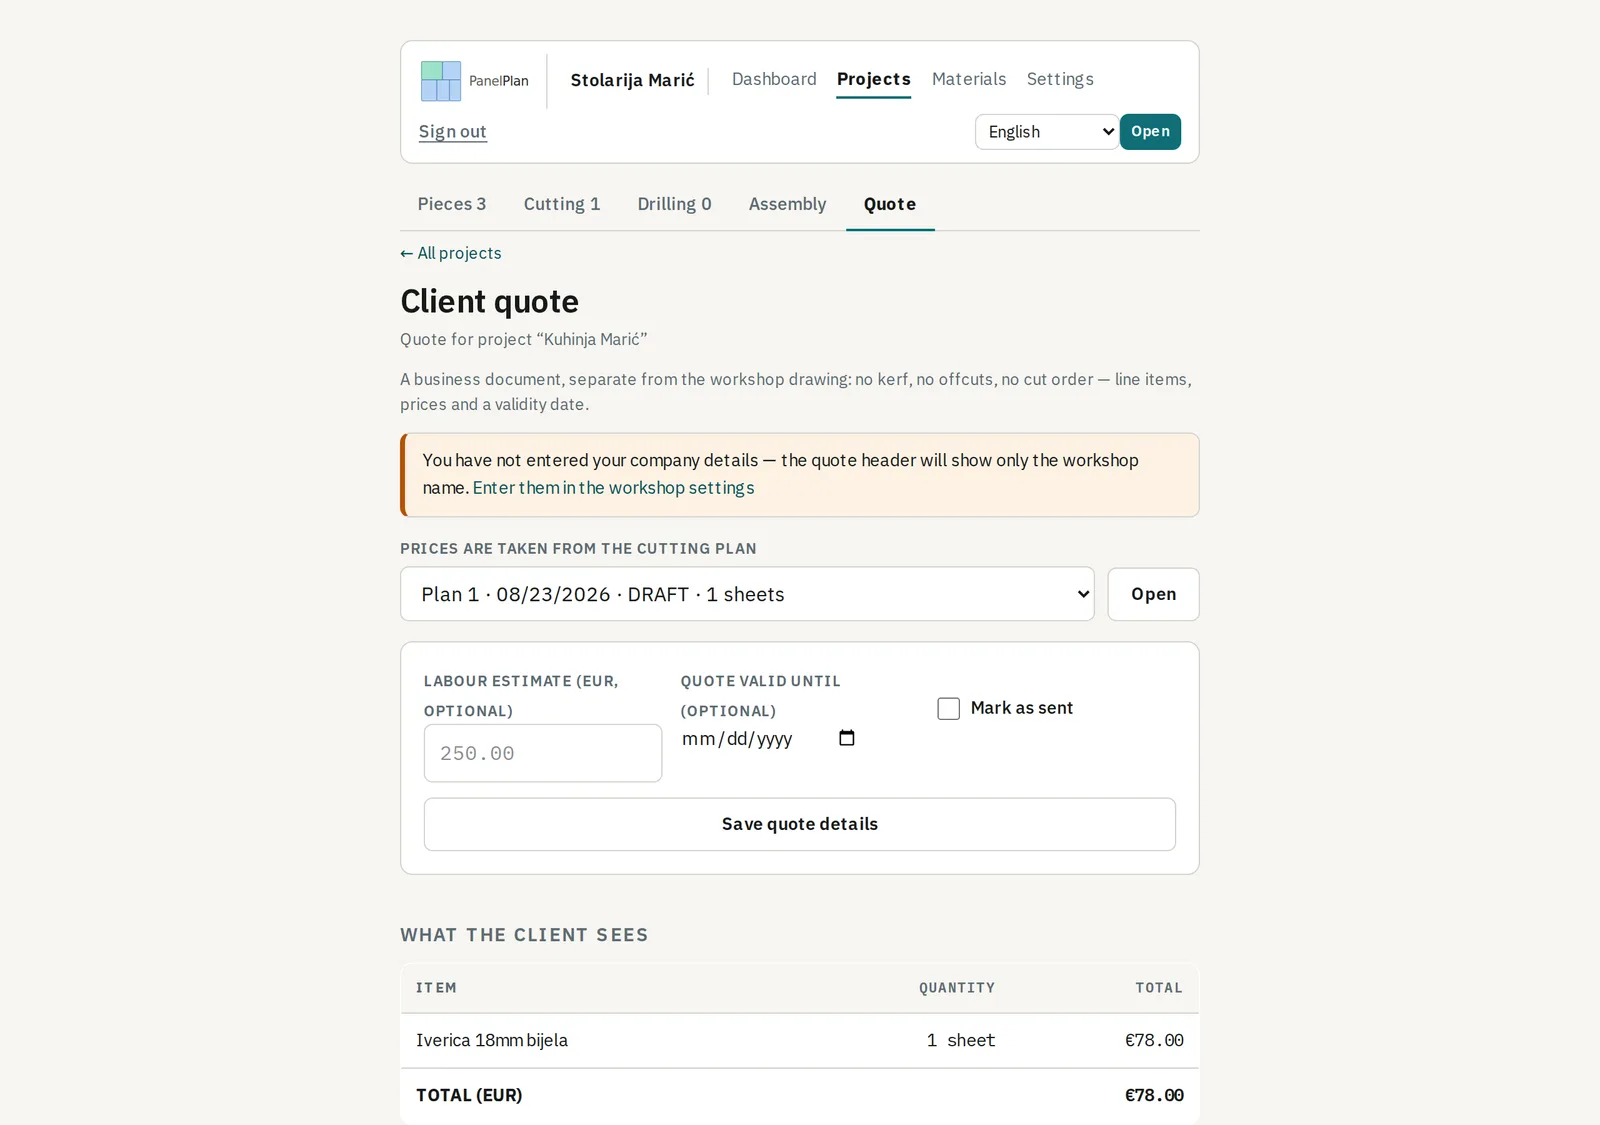
The quote is a business document for the client: your details, the line items, the price and a validity date. It carries no kerf and no cutting sequence — that is information for the workshop, not for the person ordering.
For the workshop there are three exports: a PDF with the board drawings and the cutting sequence, a CSV for spreadsheets, and a DXF for a CNC nesting machine. The DEMO PDF is free — watermarked, with no cutting sequence and dimensions rounded to the nearest centimetre. The full files are the ones you pay for.
Step by step
- Open the Quote tab and check your own details, the line items and the validity date.
- Adjust the price where the job needs it, then print the quote or save it as a PDF for the client.
- Take the workshop's own exports from the Cutting tab: PDF for the saw, CSV for a spreadsheet, DXF for a nesting machine.
12Team, language and payment
Colleagues are invited by email under Settings, and everyone in the workshop sees the same projects and the same stock. The language is changed in the header and is remembered with your account, so it follows you to another device.
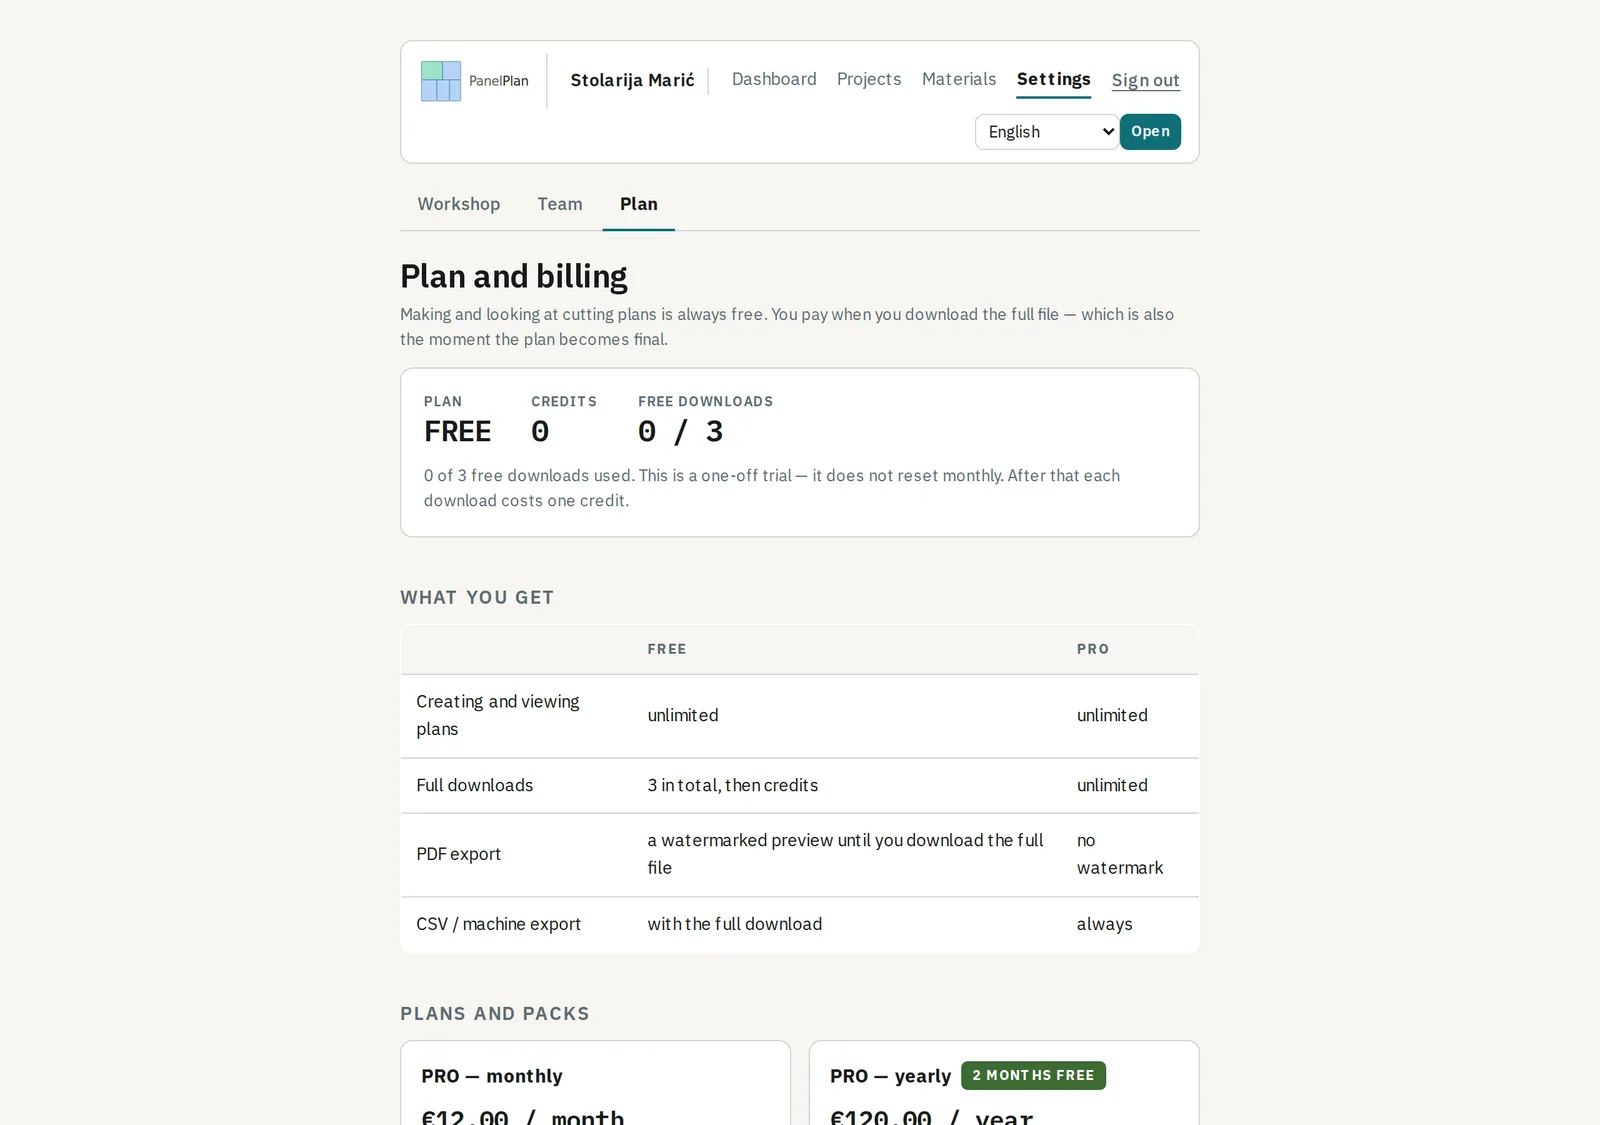
What is paid for is downloading the full file for a plan. The first few are free, after which you buy credits or a PRO subscription that lifts the limit. Credits do not expire and are only spent once the free ones are gone.
Step by step
- Settings → Team: invite a colleague by email; they see the same projects and the same stock.
- Change the language in the header — it is remembered with your account and follows you to another device.
- Settings → Billing: see how many free downloads are left, and buy credits or PRO when they run out.

If something does not work
Write to us with the name of your workshop and what you were doing when it stopped. If it concerns a cutting plan, send the project number too — it is what lets us find the exact state you were looking at.